Gearing Up: How to Harness Your Puppy
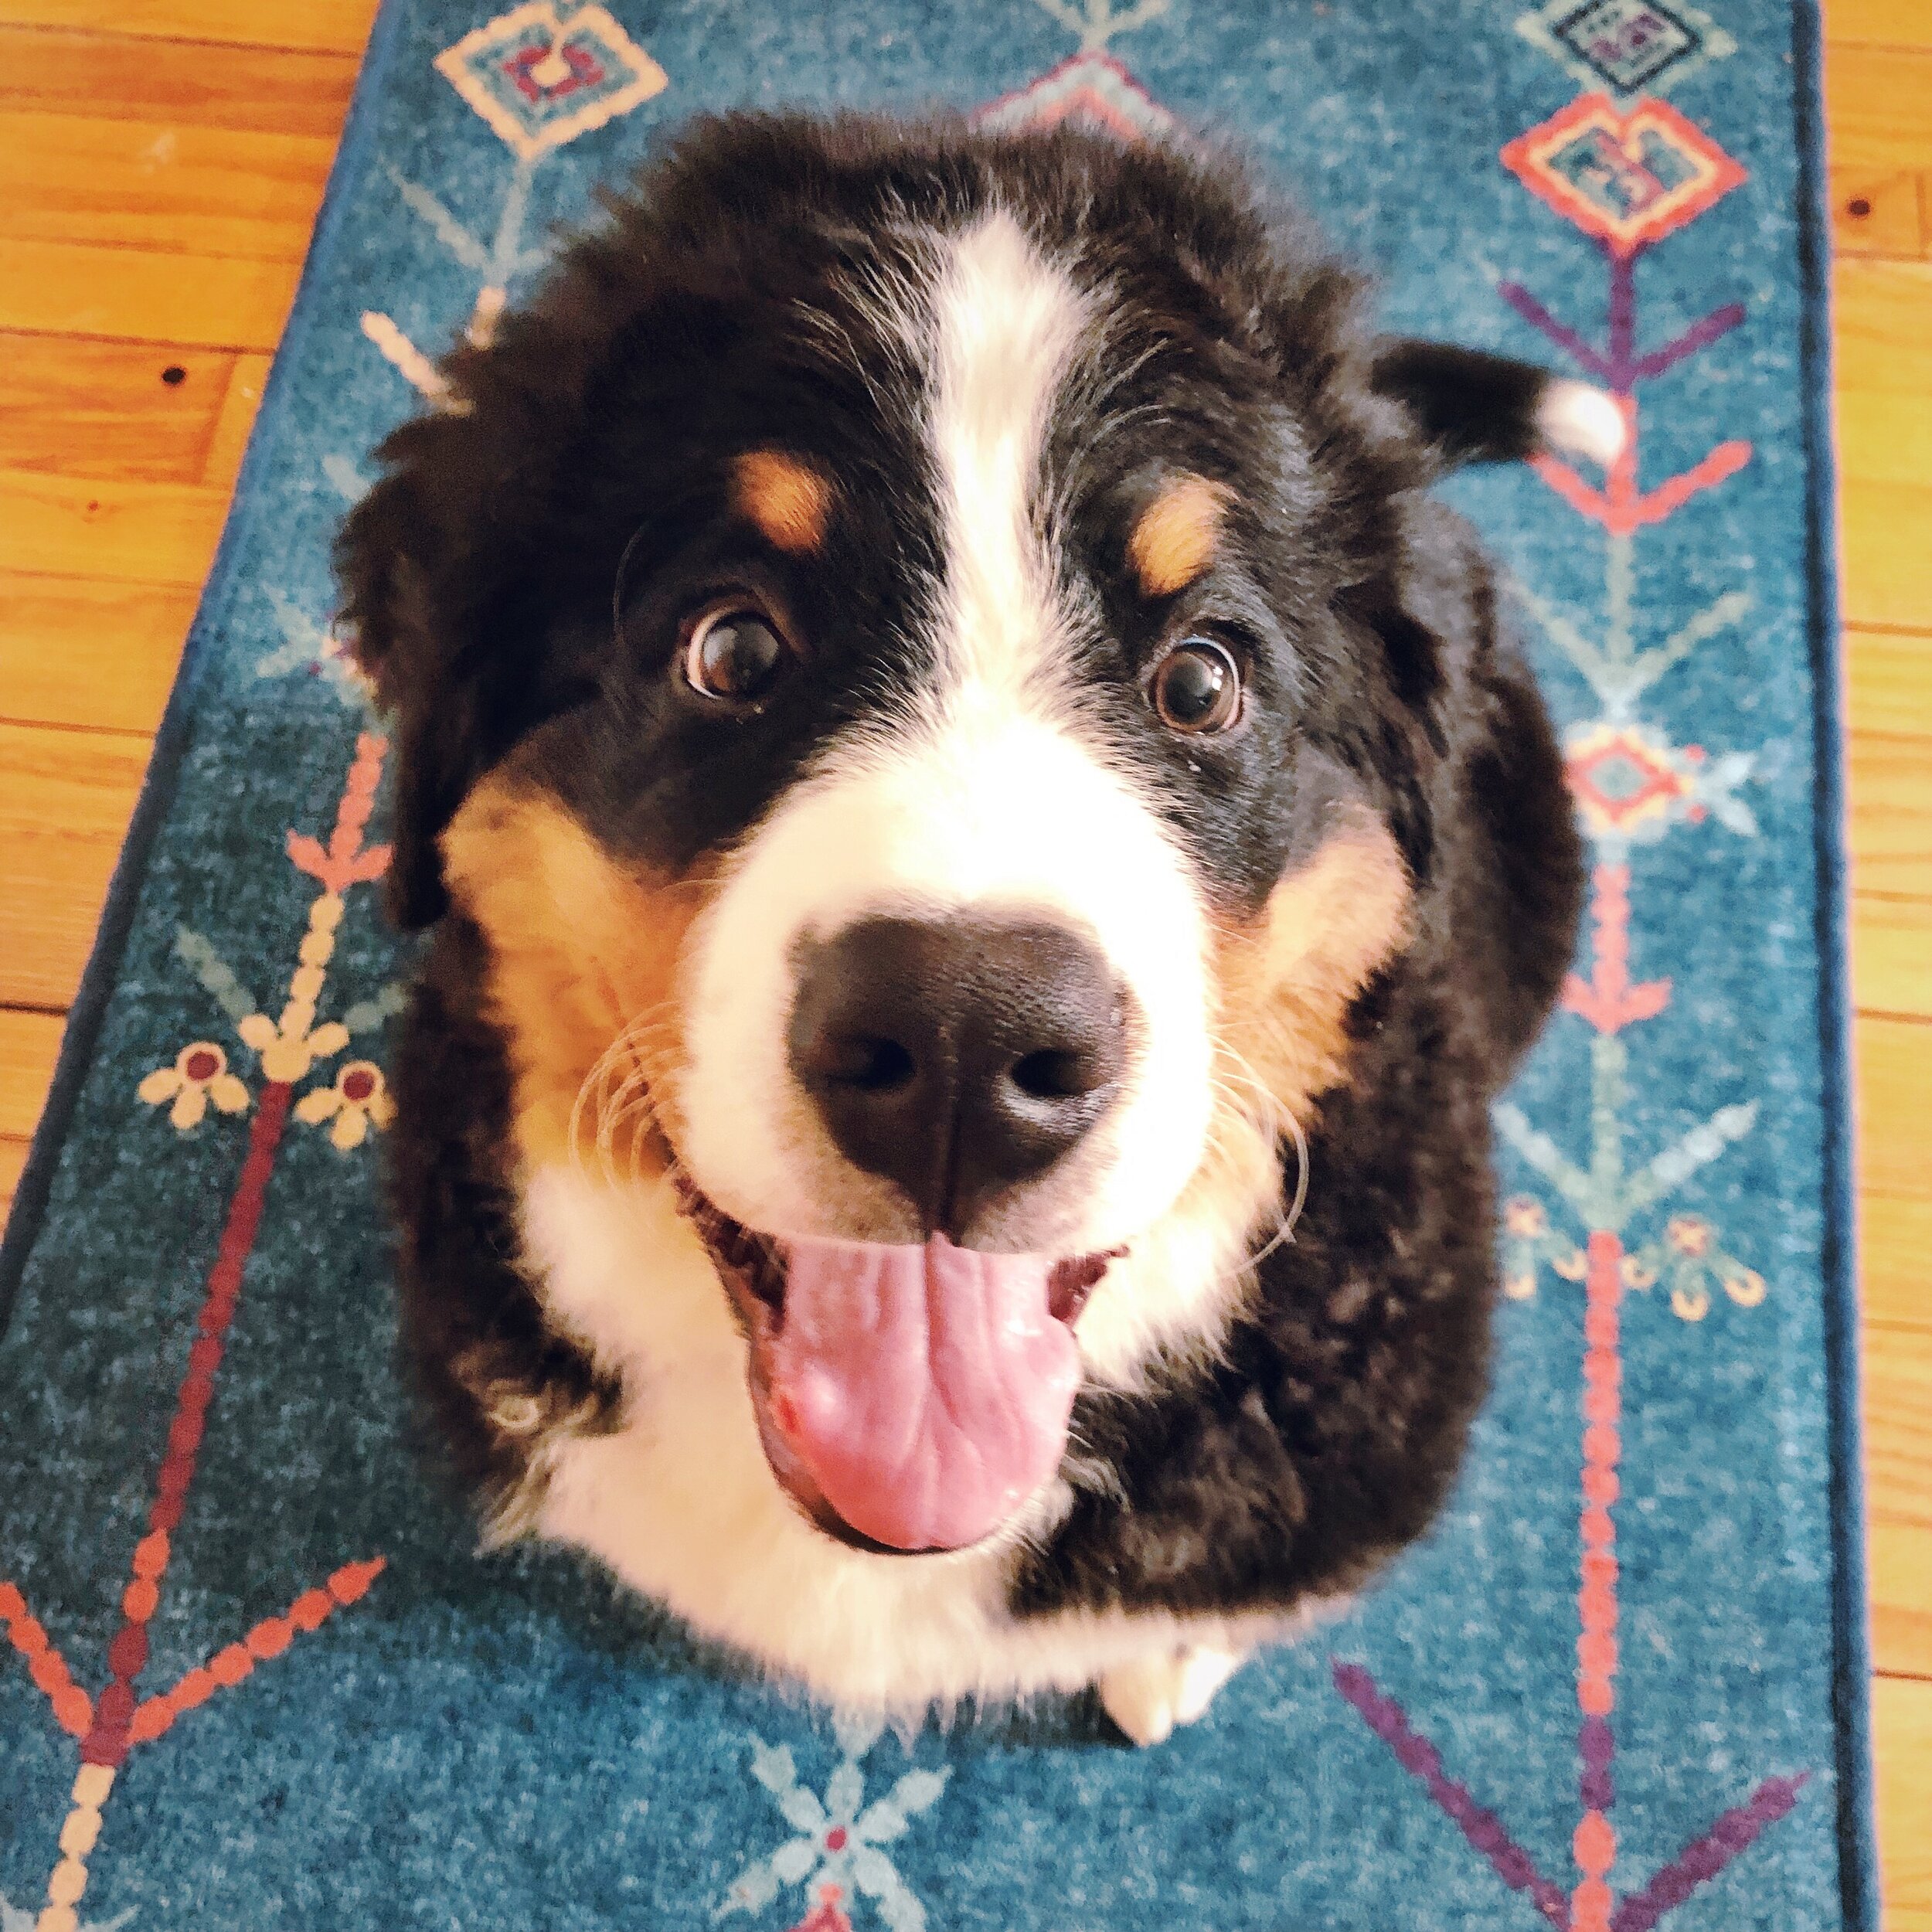
Gibbs is a 14.5 week old Bernese Mountain Dog.
Putting a harness on a dog seems like a simple task. But, it’s not. Putting a harness on a young, exuberant dog who is excited to go for a walk can be like trying to put socks on a kicking toddler. A few months ago, I attempted to harness a bouncy Australian shepherd and I got a bloody nose in the process! (And I’ve got a lot of experience putting harnesses on dogs!)
If you struggle to gear up your dog or puppy, don’t despair. You’re not alone! The following gear woes are a common refrain in my practice:
“My puppy bites the harness when I try to put it on.”
“My dog rolls on the floor and kicks me!”
“My puppy wiggles and moves so much, I cannot put the harness on. This is so frustrating!”
Harnessing a dog is a skill that takes practice. In this post, I’m going to give you directions for harnessing your dog or puppy to help you and your dog or puppy gear up in a stress-free way.
Wearing a harness, or anything new, is an important piece of a puppy’s socialization. We want to create a “yay” response for puppies for wearing stuff. This means that we want them to see the harness coming and think, “Yay, it’s my harness! Woohoo!” In behavior science, we call this a positive conditioned emotional response (+CER). And for dogs who are no longer puppies, we can teach them a +CER to a harness, too. We can do this by making the harness PREDICT delicious snacks. And, by delivering snacks in strategic positions, we can teach puppies or dogs what we want them to do when the harness comes out.
This plan is for puppies or dogs who are not afraid of their gear. For dogs or puppies who are afraid (displaying behaviors like cowering, freezing, growling, or fleeing) you will likely need a more incremental plan.
Thelma can put her head halfway through her harness.
Step One: Show your puppy the harness. If the harness goes over your puppy’s head, hold it by the top, so they can put their head through. If the harness is a step-in harness, put the harness open on the floor. We want the harness to show up on the scene first, so your puppy notices the harness first. Then we’ll introduce the snacks.
Step Two: Lure your puppy’s head into position with a handful of snacks. This is where strategic snack delivery comes into play. Put your snacks where you want your puppy’s head to go. If it’s an over-the-head harness, your puppy’s head will go through the harness. If it’s a step-in harness, you’ll position your puppy’s head so that their front feet are near the foot-holes in the harness. Give your puppy several snacks in this position.
Step Three: Place some snacks on the floor for your puppy to eat. Why place the snacks on the floor? We need dogs or puppies to stay in a STANDING position when we harness them. If they sit, it can be hard to buckle the harness around their belly. Also, it’s important to keep the belly strap fitting properly, and buckling it in a sit can be misleading and feel too tight when it’s not. Be prepared to repeat this step as often as you need to buckle your puppy’s harness. If your puppy lies down, try placing your snacks up a bit higher. A row of snacks on a surface that matches your dog’s height (like a bench or chair) can prompt them to stay standing long enough for you to buckle the harness.
Want to see it? Check out the video below!
Gibbs is a 14.5 week old Bernese Mountain Dog. He was the wiggliest, floofiest puppy I could find. He had never worn a harness before! Gibbs is getting paid in turkey for his hard work!
Remember, this is a skill that takes practice, for both you and your dog!
By using snacks, you can capitalize on making gearing up a positive experience for your dog or puppy. By positioning your snacks strategically, you can help teach your dog or puppy what to do when the harness appears.
Gibbs and Thelma are modeling the Freedom harness by 2 Hounds Design.


